Thursday, June 17, 2010

Pretend Play: Wooden Pie Hutch


Once again, we depart on a journey of loving creation!!

I saw the newest kid's design on Ana's blog and knew that I HAD TO BUILD THIS!! We need more storage and "counter space" for my budding chef.

Simply gather your wood:

Overall this was a VERY easy build, but it was time consuming with the curved cuts that needed to be made and then sanded before finishing.


Once the curves were cut out and sanded, I had the piece nailed together within 10 minutes:


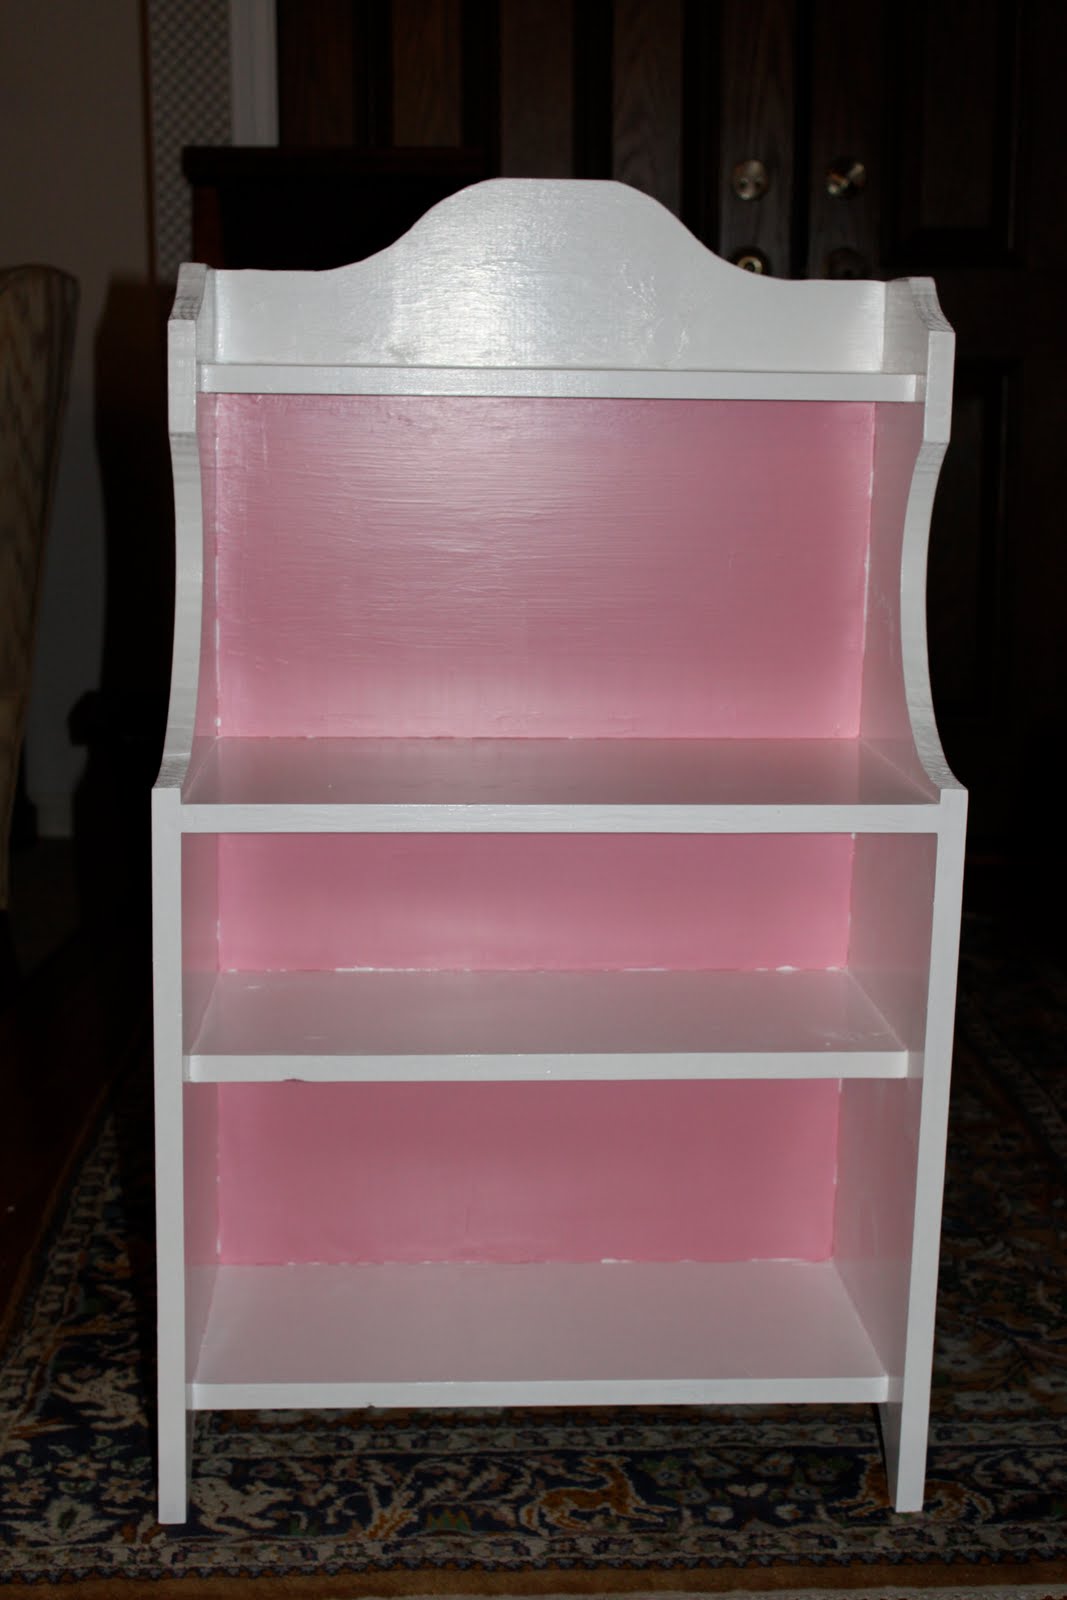
I made sure to fill all holes and knots with putty and sanded well before I painted it white.
(I use Behr Polar Bear in Semi Gloss.)

I then carefully painted the "back" pink. Looking back, this would have been A LOT EASIER if I would have painted the back FIRST, and THEN nailed it on! HELLO, DUH! I was having a moment of "I just need to get this done before we go on vacation..."! (I used Lowes Valspar Polka Pink in Satin.)


At this point, there was NO HOLDING HER BACK....my daughter wanted to play with this NOW! I turned the fan on and let it blow FULL BLAST on the piece during my daughter's nap. It dried surprisingly FAST. She helped me load it up and arrange all of her canned goods! (Yes, she LOVES these cans and we make more every "can" chance we get!)

***I am NOT LIABLE for any plans featured here. Please take every precaution and use your own discretion to make sure these toys are safe for children to play with them.

Muslin - Car "Town" Mat


When I was little, my cousin and I were REALLY into Micro Machines. They're these tiny little cars that came with cities and towns to put together. We couldn't afford the big play sets of our dreams, so my older and craftier cousin (think 10) came up with a way to have our cities but on a budget! She got out some poster board, markers, and a ruler and we set out on a journey of discovery and artistic license. We worked on that poster board for several hours, quickly ran out of space for our ideas, and moved on to a second poster board. I don't know what was more fun....designing the town or playing with it when we were done! My cousin was kind that summer. She let me take the "town" home with me, promising that she could make a better one for herself, although she never did.

Years later, I still have my Micro Machines. My daughter discovered them in a box in the closet. Now they are collector's items, no longer sold on the open market but in Ebay auctions and the like. I quickly drew a "town" onto paper for my daughter, and while she loved playing with it, it was easily destroyed in the mayhem. I then decided she needed her own town to play with, but I wanted to make it portable and more durable than the poster board town of my childhood.

Enter: Muslin, Sharpie markers, and Micro Machines

I made a list of all of the "places" I wanted the town to have: bank, hospital, police, fire, restaurants, houses, stores, schools, etc. I simply started with one building, measuring with a car for scale as I drew along. I included roads and parking spaces. My daughter would play on one corner of the completed town while I continued in another section.

MEDICAL BUILDING:
GAS STATION, MECHANIC:
SHOPPING CENTER:


NEIGHBORHOOD:
POLICE AND FIRE:
MALL AND THEATRE WITH LOTS OF PARKING:

When I ran out of room for my continuous list of ideas, I sewed on another piece of muslin, and then another. Now there is room for GROWTH!

It took several days, with a toddler's help, to finally finish. This mat is going with us for our summer plane trip. It will be a perfect distraction when we are sitting in the terminal between flights!

***I am NOT LIABLE for any plans featured here. Please take every precaution and use your own discretion to make sure these toys are safe for children to play with them.